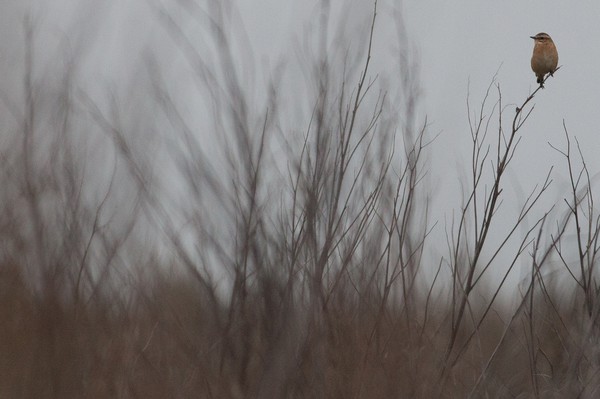
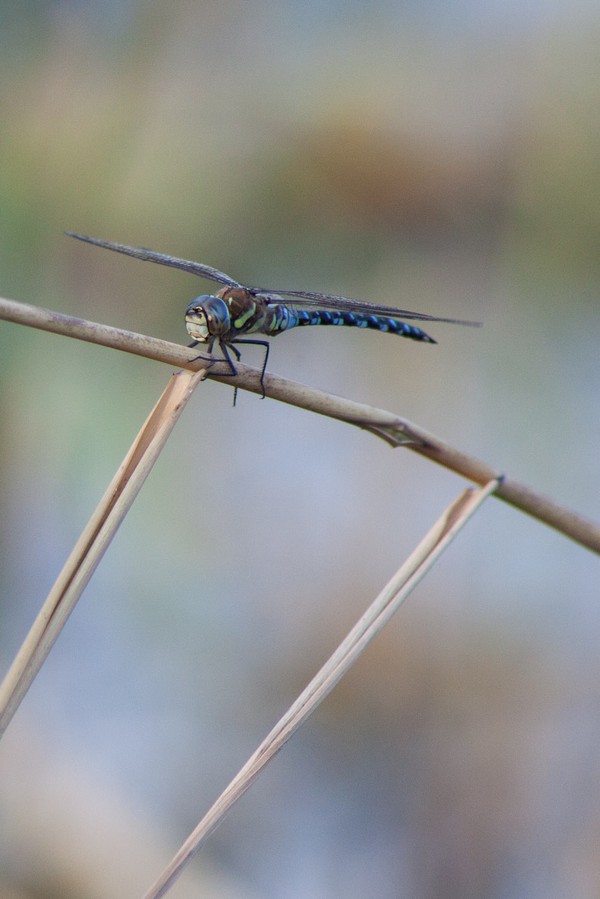
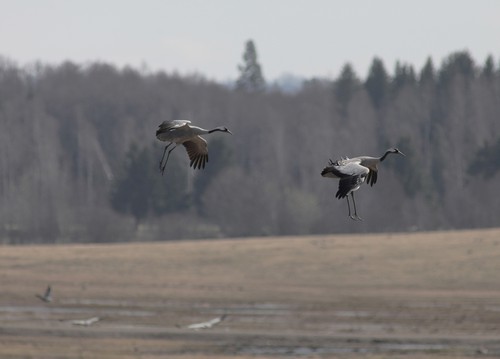
Öland 2011


Foto: Martin Rodensjö


Gryta soptipp 27 augusti


Kvismaren

Kvismaren 20 aug 2011


Gryta soptipp

Listen to, Disfarmer Theme, Bill Frisell
Fler fåglar och Juli 2011

Kölnan 2011

Simrishamn


Kompisar

Falkenberg


Göteborg


Falkenberg


Bokskogen, Torup


Karpalundsdammen Kristianstad


Kvismaren, Örebro


Asköviken, Västerås


Fåglar från olika platser


Hornborgasjön


Parken Västerås


Asköviken


proxyfiles premiere pro eos 5d mark 2
So, here,s a tutorial working with proxies! I got the scripts from some genius at www.cinema5d.com
1 - download this package of files http://www.4shared.com/file/w40XH3u0/eos_5d_proxy.html
Keep everything within the same folder!
Extract the eso 5d proxy.zip folder. It should contain these three files, look below.
The ffmpeg-18639 is the converter. The scripts.MOV contain the information needed for working with ffmpeg-18639. The scripts.MOV needs to be extracted.
quicktime alternative is necessery if Premiere doesn,t load .MOV files. If it already loads .MOV files quicktime alternative won,t be necessary.
2 - Extract scripts.MOV.zip. Now it should look like this, see below

3 - Now copy your ffmpeg-18639 folder to for instance your C:\program folder, see picture below. The important thing is for you to know where you put the program. 
4 - now I need to edit the proxyscript which I intend to use pointing at the ffmpeg-18639 folder. in the example I,m gonna use the script called medium proxy. See picture.
5 - I enter the script by changing the suffix from .bat to .txt like this, see below
Then open the document it should look like this
This is where it gets interesting! Now you can point your chosen proxy to where you have put your ffmpeg-18639 folder.
The part in blue is where my ffmpeg-18639 folder is. See below.
Next I want to change the proxyscript threadnumber to what I got on my computer. I have 2, if you have 4 threads you put in 4 etc...
Then close the script and rename the suffix back to .bat and your proxyscript is done!

6 - Next you create a folder with the name MOV and put all your original files into that folder.
Now it should look as below with you MOV-folder containing all your
DSLR-moviefiles you,d like to make proxies of.

7 - Now doubleclick your medium proxy.bat and the files will start converting your files and
also create a proxyfolder. It should look like this. The conversion usually is very
fast depending on your computer. Wait until it converted your files
then proceed to step 8.
8 - Using the proxys in Premiere pro
Now create a project in premiere as if it you are going to work with full HD movie files. For instance.
I live in Europe and my project would be something like 1920 x 1080 25p. In premiere pr cs3 I will choose this settings.
It,s closest to my cameras full HD clips. see below.
Next you import your proxy files to your project within your XDCAM EX 1080p 25 project.
Your files will be small in the preview window and look like this.
What you have to do is select all your clips in timeline, rightclick and choose "scale to frame size"
and your clips will be fitted to your preview window. see below.
Now it should fit the preview window
(there,s a little tiny black border at the bottom, nothing to worry about)
Now you can start editing your files adding effects and all kinds of stuff and your files will
play smoothly and render fast! When everything is done and you feel ready to
export your project you just change from your proxyfiles to your original files. This
is how it,s done. see below.
9 - Save your project that you,ve been working on using the proxies. Close down premiere pro
Next you just hit the script called "switchEdit.bat"
What the switchEdit.bat do is simply rename your proxyfolder to "full" resulting
in premiere not finding your proxies when starting up your project again.

10 - Start up premiere and open up your project again
Premiere will ask for your files and it will look like this
11 -The final step is to choose your original file that premiere asks for and
get it from your MOV folder, in my case it,s the file MVI_4152.mov

This where i find It. In my MOV folder. 
When selecting the file premiere asks for, in my case "MVI_4152.mov" the result will
be that it automatically finds the rest of the originalfiles in the same folder. Sweet!
12 - This is it! Magic formula for your heavy avc.h264 files from your camera!
Good luck an feel fre to comment on this tutorial.
You can get the latest version of ffmpeg from here
http://tripp.arrozcru.org/
The original proxyscripts which will be in mp4 can you get here
http://cid-a218911273df094b.skydrive.live.com/self.aspx/Public/VideoEditing/scripts.zip
"Danchoslider"
This is the perfect slider for your dslr for doing shorter dollymoves with your camera at a very low cost.
The items are not that hard to find. What you have to do is drilling some holes so it fits your tripod and your hdv head. I call it the "Danchoslider"
The idea emerged from the product called glidetrack that Phillip Bloom is using in his shortmovie "skywalker range".
Fabulous movie, watch it if you got the time.
Skywalker Ranch from Philip Bloom on Vimeo.
What you need is following
Igusrail 0,5 metre "drylin ws-16-60, 500mm" about 50 dollar
and the drylin plate "drylin ww-16-60-10" about 60 dollar
I found it from www.collycomponents.se in Sweden
Tools you need
a drill for making the holes
a 3/8 bolt to fit with your hdv-head
a 3/8 threadtool after you drilled the hole at the plate.
I threaded the wholes on the side of the rails as well
creating stops for the plate.
The legs were bought at biltema in sweden.


I also added a pair of dirt cheap legs!


